Kids Science Experiments At Home
📖 Table of Contents
I remember the first time my daughter asked me, 'What happens if we mix vinegar and baking soda?' I was caught off guard, but I saw an opportunity. That simple question sparked an entire afternoon of discovery, mess, and learning. It wasn't just about the fizzing reaction — it was about her curiosity, her engagement, and the way her eyes lit up when she saw the volcano erupt. Kids science experiments at home are more than just fun; they're an invitation to explore the world through the lens of inquiry, discovery, and wonder.
Back then, I didn't know much about how to structure experiments for kids, but I learned quickly that the most effective learning happens when it's hands-on. Whether it's watching a balloon inflate without blowing it up or creating a mini ecosystem in a jar, these experiments are powerful tools for teaching science concepts in a way that's tangible and unforgettable. I've since turned my kitchen into a laboratory, and I've watched my child's confidence and understanding of science grow with every experiment we've tried together.
Kids science experiments at home aren't just about the science — they're about building a foundation for lifelong learning. They teach patience, problem-solving, and critical thinking, all while having fun. I've seen how these activities can bridge the gap between formal education and real-world application. I'm excited to share some of the most engaging and effective experiments that have worked for my family. Whether you're a first-time parent or an experienced educator, these experiments are designed to inspire and educate.[1]
Why You'll Love This Collection of Experiments
- They're designed to spark curiosity and ignite a passion for science.
- They require minimal materials, making them accessible for most households.
- They're adaptable for different ages and learning levels.
- They're safe, engaging, and educational — all in one.
Simple Experiments for Younger Kids
As of September 2026, one of my favorite experiments for younger kids is the 'Rainbow Milk' activity. Using food coloring, dish soap, and milk, kids can observe how the colors spread and swirl when the soap is added. It's a simple, visual way to introduce the concept of surface tension and how soap affects it.[2]
The materials are easy to find — just milk, food coloring, and dish soap. I've done this experiment with my daughter multiple times, and each time, she gets more excited about the colors and how they move. It's a great way to teach cause and effect without any complicated language.
This experiment is also a perfect opportunity to talk about the scientific method. We ask questions like, 'What happens if we use more soap?' or 'What happens if we use different colors?' It's a great way to build early scientific thinking.
Use non-toxic, kid-safe soap and food coloring. Avoid any harsh chemicals or materials that could be a choking hazard for very young children.
Exploring Density with a Layered Liquid Experiment
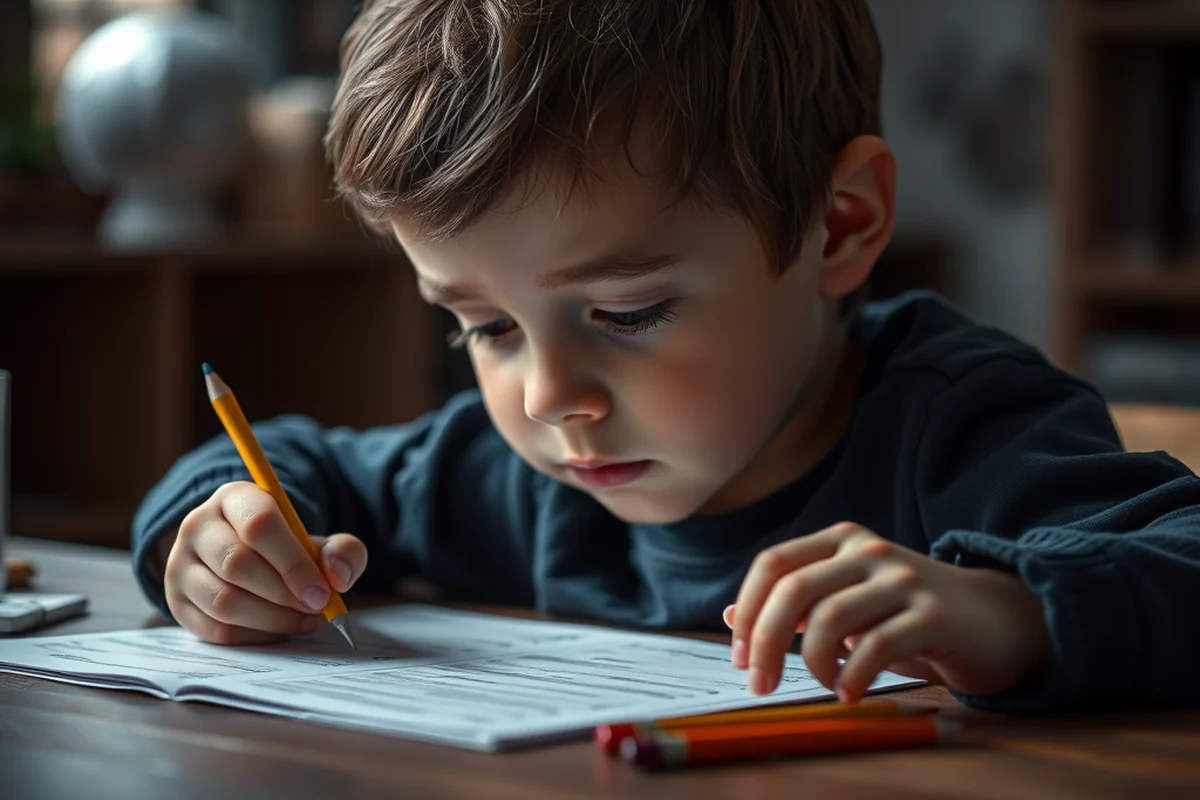
I've used this experiment with my daughter to teach her about density, which is a concept that can be tricky for young minds to grasp. We used honey, corn syrup, dish soap, water, and vegetable oil to create a colorful, layered effect. Each liquid sits on top of the next, creating a beautiful gradient.
The materials are all common household items, which makes this experiment very accessible. It's also a great way to talk about how things float or sink based on their density. My daughter was fascinated by how the oil floated on top of the water, while the honey sank to the bottom.
This experiment is also a great way to practice observation skills. We talk about what each liquid looks like, how they move, and why they form layers. It's a hands-on way to understand a concept that can be abstract in a textbook.
Density is the reason why oil floats on water — it's like a science lesson in a jar!
Related: Kids teaching kids videos
Making a Mini Ecosystem in a Jar
Creating a mini ecosystem in a jar is a great way to teach kids about the delicate balance of nature. We used a jar, soil, small plants, and a few tiny animals like snails or earthworms to build a self-contained ecosystem that we could observe over time.
This experiment is both educational and engaging. My daughter loved watching the snails move through the soil and how the plants grew over the weeks. It was a way to teach her about the food chain, decomposition, and the importance of balance in nature.
It's also a great opportunity for reflection and discussion. We talked about what would happen if we added more animals or if the plants didn't get enough sunlight. It helped her understand that ecosystems are dynamic and require careful management.
Make sure the jar has proper drainage and that the organisms have enough food and space. Avoid overcrowding the jar, as it can lead to a less healthy ecosystem.
“I remember the first time my daughter asked me, 'What happens if we mix vinegar and baking soda?' I was caught off guard, but I…”— Teaching Cooking to Kids editors
Related: Kids teaching kids
Exploring Static Electricity with Balloons
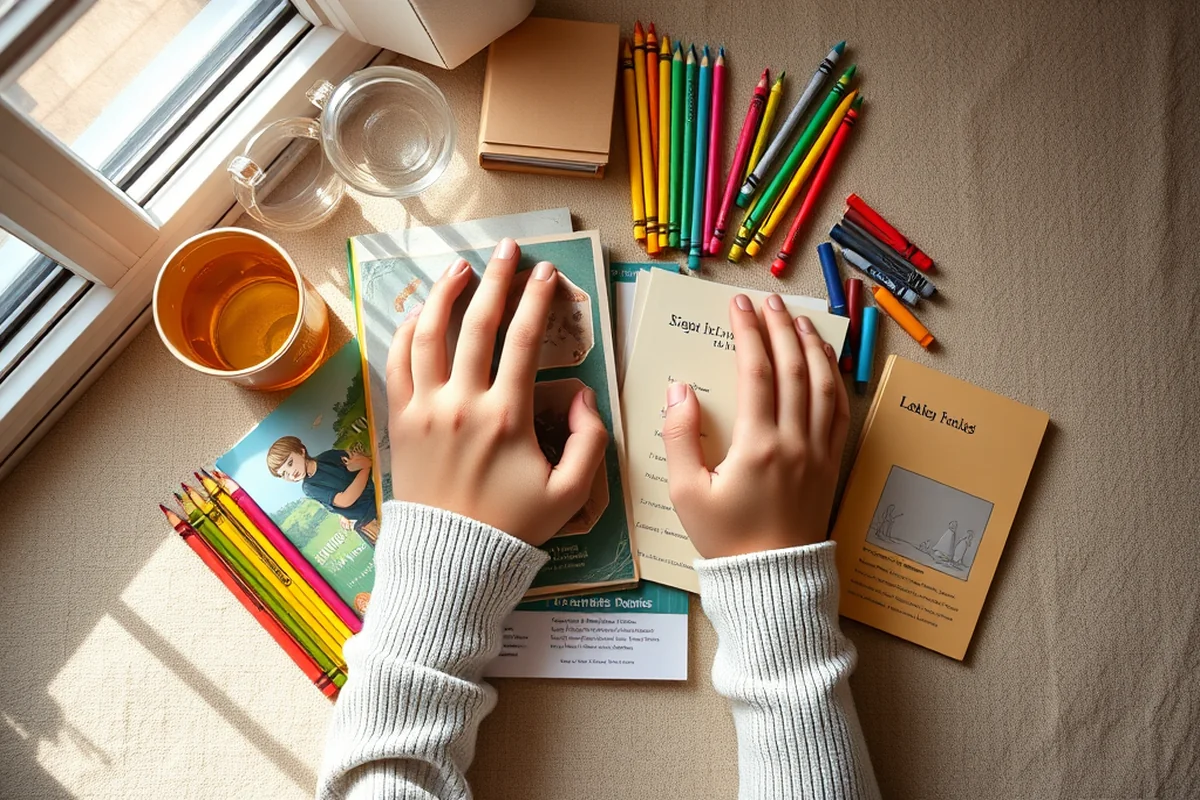
I've used this experiment with my daughter to teach her about static electricity. By rubbing a balloon on her head and then sticking it to the wall, we could see how the balloon clung to the surface. It was a simple and effective way to demonstrate the concept of positive and negative charges.
This experiment is perfect for younger kids and requires no complicated materials. All you need is a balloon and some hair — and the results are immediate and visible. My daughter was thrilled to see how the balloon stuck to the wall and how it could even lift small pieces of paper.
We also talked about why static electricity happens and how it's related to the way atoms interact. It was a great way to introduce basic physics concepts in a fun and engaging way.
Related: Best kids cartoons
Creating a Homemade Compass
We made a homemade compass using a needle, a magnet, a bowl of water, and a floating cork. The process involved magnetizing the needle by rubbing it against the magnet and then floating it on the water. It was a simple but effective way to demonstrate the power of magnetism and how it can guide a needle in a specific direction.
This experiment is also a great way to introduce the concept of Earth's magnetic field and how compasses work. My daughter was fascinated by the way the needle always pointed in the same direction, no matter how we moved it.
It's also a great opportunity to talk about the practical applications of magnetism. We discussed how compasses are used in navigation and how they've helped explorers for centuries. It was a fun and educational way to connect science to real-world applications.
Related: How to crochet for kids beginners
Making a Homemade Lava Lamp
I've used this experiment with my daughter to teach her about density and how different liquids behave when mixed. Using water, vegetable oil, and Alka-Seltzer tablets, we created a glowing lava lamp effect that was both mesmerizing and educational.
The materials are easy to find, and the experiment is a great way to talk about how oil and water don't mix. My daughter loved watching the bubbles rise and fall in the jar, and it was a great way to explain why oil floats on top of water.
This experiment is also a great way to introduce the concept of chemical reactions. We talked about how the Alka-Seltzer tablets react with the water to create carbon dioxide bubbles, which push the oil up and create the lava lamp effect.
Watch in amazement as your homemade lava lamp comes to life — a glowing demonstration of chemistry at work!
Related: When to teach kids alphabet
Understanding Sound with a Homemade Speaker
We made a homemade speaker using a balloon, a plastic cup, and a phone. The process involved stretching the balloon over the cup and attaching it to a phone speaker. When we played music, the balloon vibrated and created sound waves that could be heard clearly.
This experiment is a great way to introduce the concept of sound waves and how vibrations travel through the air. My daughter was fascinated by how the balloon moved and how it could produce sound when the music was played.
It's also a great opportunity to talk about the practical applications of sound. We discussed how speakers work in real life and how they're used in music and communication. It was a fun and educational way to explore the science of sound.
🧪 Younger Kids Activity
Simple experiments using household items that are safe and easy for toddlers to explore.
🔬 Older Kids Activity
More complex experiments that encourage critical thinking and problem-solving for older children.
🧩 No-Prep Activity
Experiments that require no preparation and can be done on the spot with whatever materials are available.
👥 Group Activity
Activities designed for group settings, encouraging collaboration and shared learning among multiple kids.
📈 Extension Activity
Advanced experiments that allow for deeper exploration and discovery beyond the basic concept.
| The mistake | Why it happens | The fix |
|---|---|---|
| Using materials that are not child-safe. | This can be a serious safety risk, especially for younger children who may put materials in their mouths. | Always use non-toxic, child-safe materials and check the labels to ensure they are appropriate for use by children. |
| Not supervising the child during the experiment. | Unsupervised experiments can lead to accidents or the misuse of materials. | Always stay close and actively participate in the experiment to ensure safety and proper understanding. |
| Not cleaning up properly after the experiment. | Leaving materials around can be a hazard and may affect future experiments. | Make sure to clean up and store materials properly after each experiment to maintain a safe and organized space. |
| Assuming the child understands the concept without discussion. | Children learn best when they are actively engaged in the process and given the opportunity to ask questions and reflect on what they're learning. | Take time to talk through the experiment, ask questions, and encourage your child to explain what they observed. |
Kids Science Experiments At Home
Common Questions
What materials do I need for these experiments?
Are these experiments safe for young children?
How long do the experiments take to complete?
Can I do these experiments with my child if I'm not familiar with science?
References
- In Other Words: Sandboxes Aren't Just for Kids (nigms.nih.gov)
- Explorers Club - Wyoming Department of Workforce Services (dws.wyo.gov)
Cite this guide
Teaching Cooking to Kids (2026). Kids Science Experiments At Home. https://mealnurture.com/kids-science-experiments-at-home/
Feel free to cite or share this guide.